
My New Office | Feminine Home Office Design | Ikea Hack
Ikea Cabinet Hack
Feminine home office design with steps for a simple trimmed out white Ikea Cabinet Hack and a large gallery wall.
We’ve only been in this home … forever. And I only work from home … every single day. About time this home office of mine got pulled together! haha
I needed something with great storage for all my design work, photography layflat work, and crafts, but with 2 of the walls being windows, and one being french doors I didn’t have a ton of wall space, and also, that dumb word budget. I needed something tall and skinny and I couldn’t find exactly what I wanted within that price tag I liked – so ikea + hubbster to the rescue! (Ok, honesty note here – with a big face palm – this part of my office was actually finished over a year ago! Doh! It took me a whole year after finishing these shelves to pull the rest of the room together and get this posted – lol) But, this is the perfect post to finally share the steps we did for this Ikea hack, so here it is.
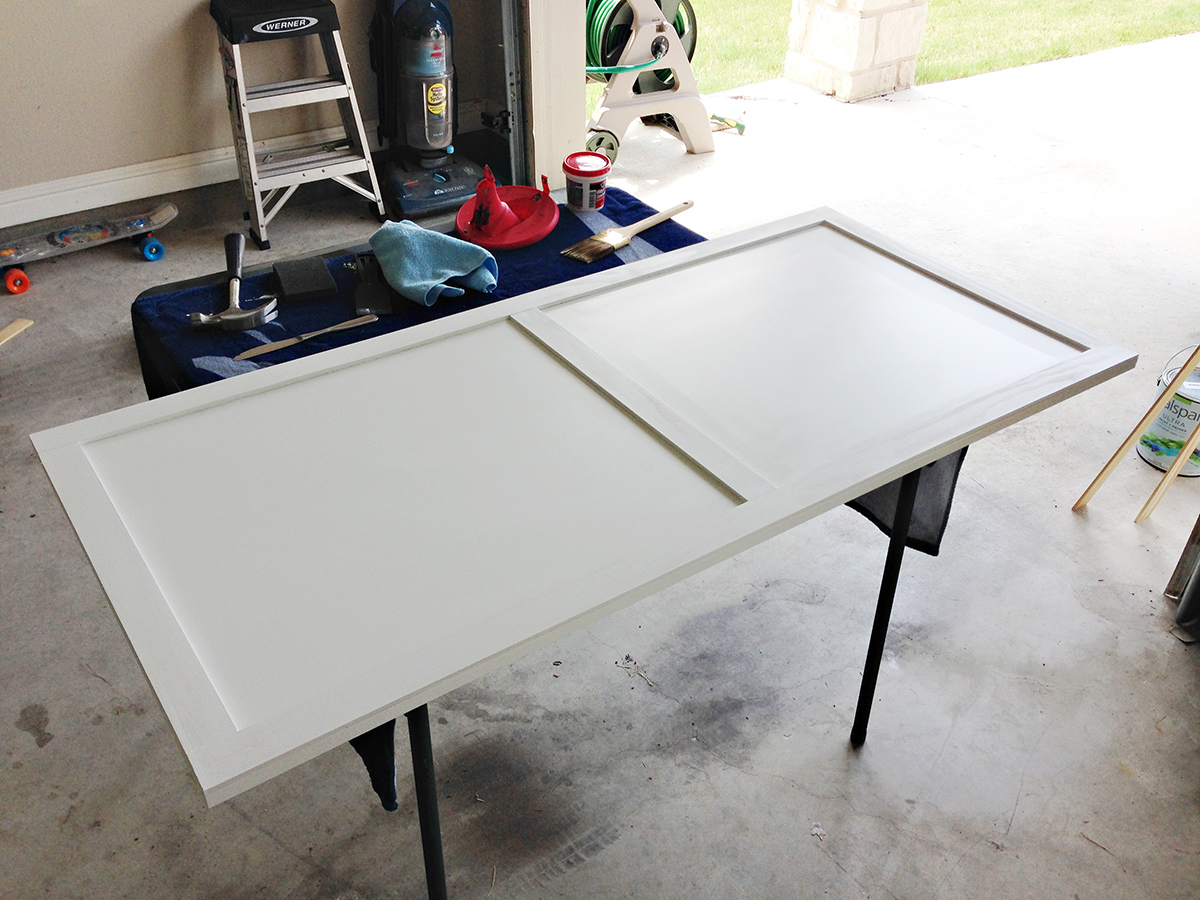
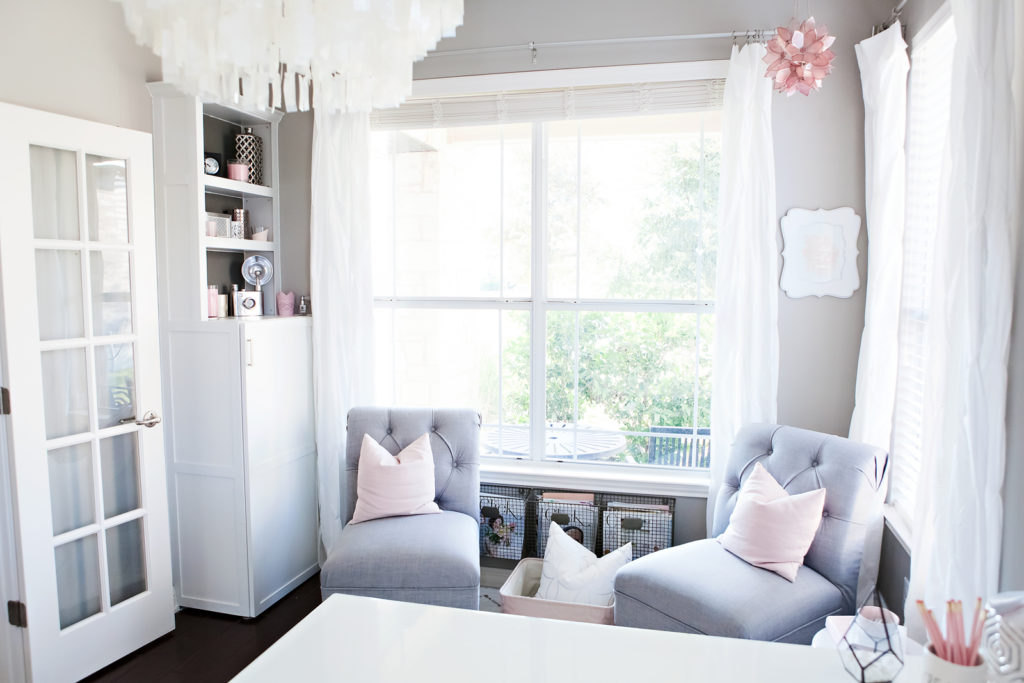
We bought tall Besta cabinets from Ikea, with the small top shelves that aren’t as deep, because I wanted a small display area on top. They didn’t have the doors I wanted, so just bought flat white doors and made our own paneling on them with strips of plywood, and for the paint, I just brought one of the white ikea shelves to Lowes, and they matched the color for me, did a really good job too, we only painted the trim, and never had to repaint the whole door – we were prepared for that though, I figured the matching would never be the same, so that was a very pleasant surprise!
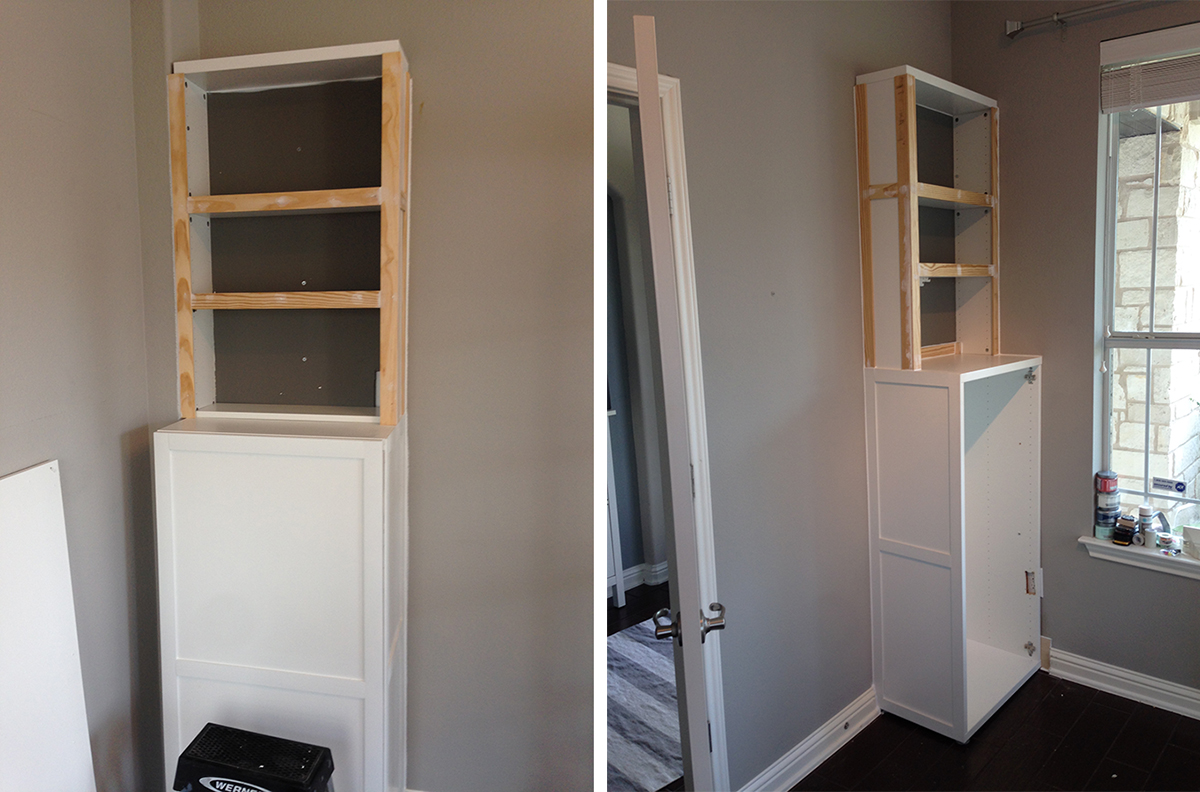
Here’s how the cabinets look just set in place, and then you can see how we did added on the trim – just wood glue on the boards and then caulk and paint, really simple – we even had Lowes make most of the cuts for us, so we went home with strips from that trip!
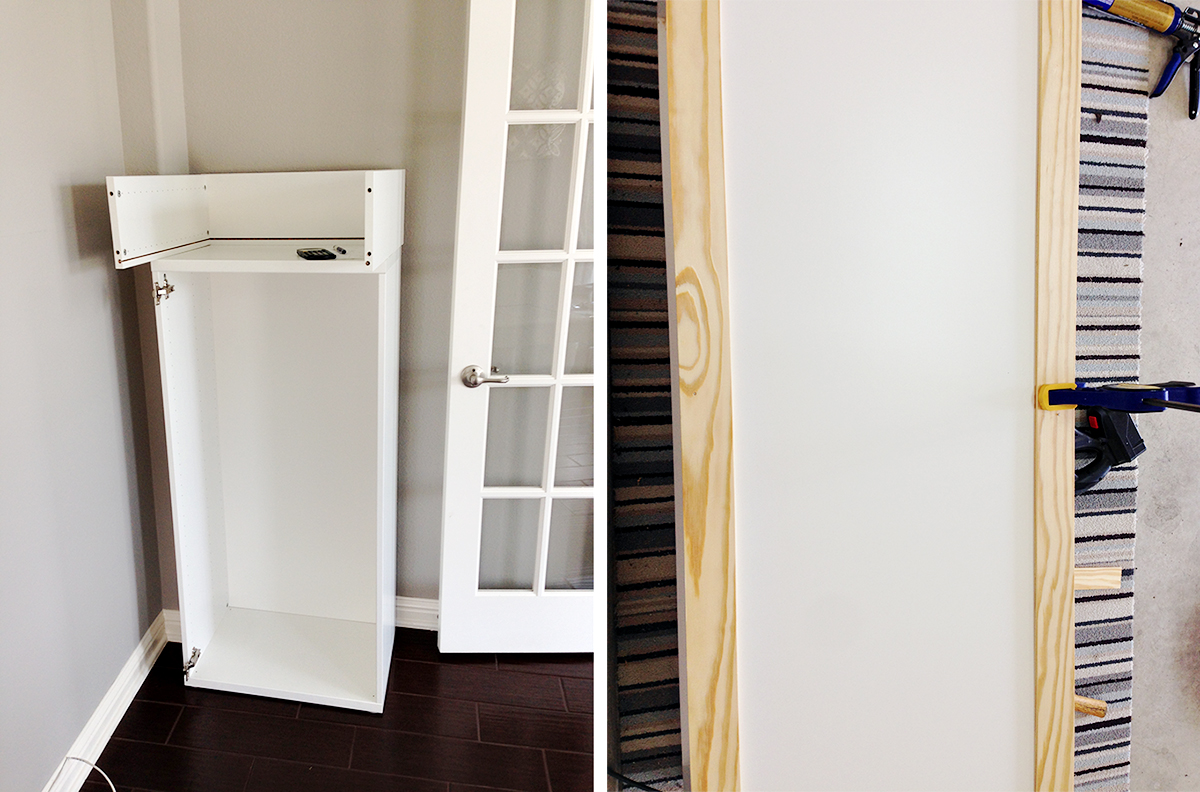
Then we just put the cabinets in place, and started putting them together – in hindsight, I wish we would have built a cabinet base, instead of just putting them on the floor – but we did take out the baseboards where they sat, so that helped the look, I think building a base would have been super simple as well though, and really just finished them off perfectly! Ya win some, ya lose some! haha
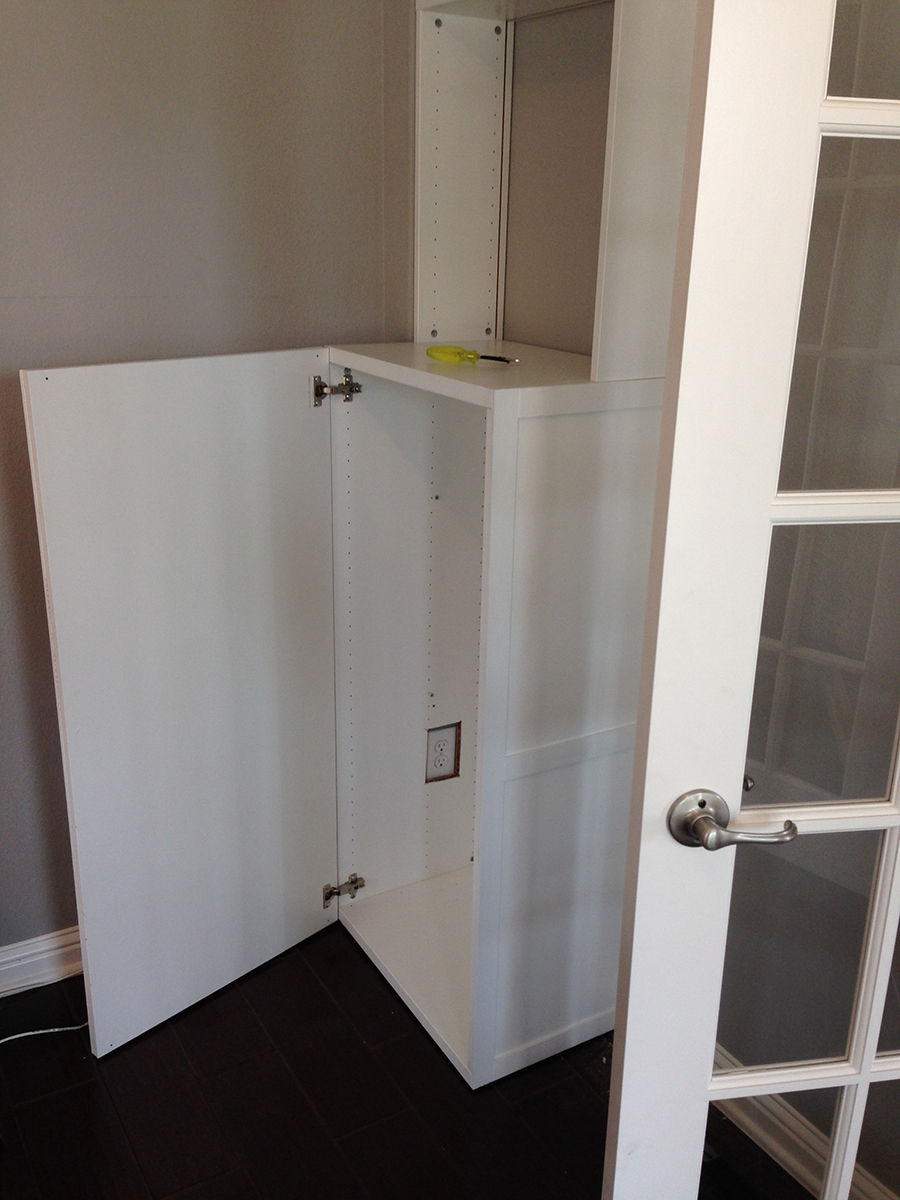
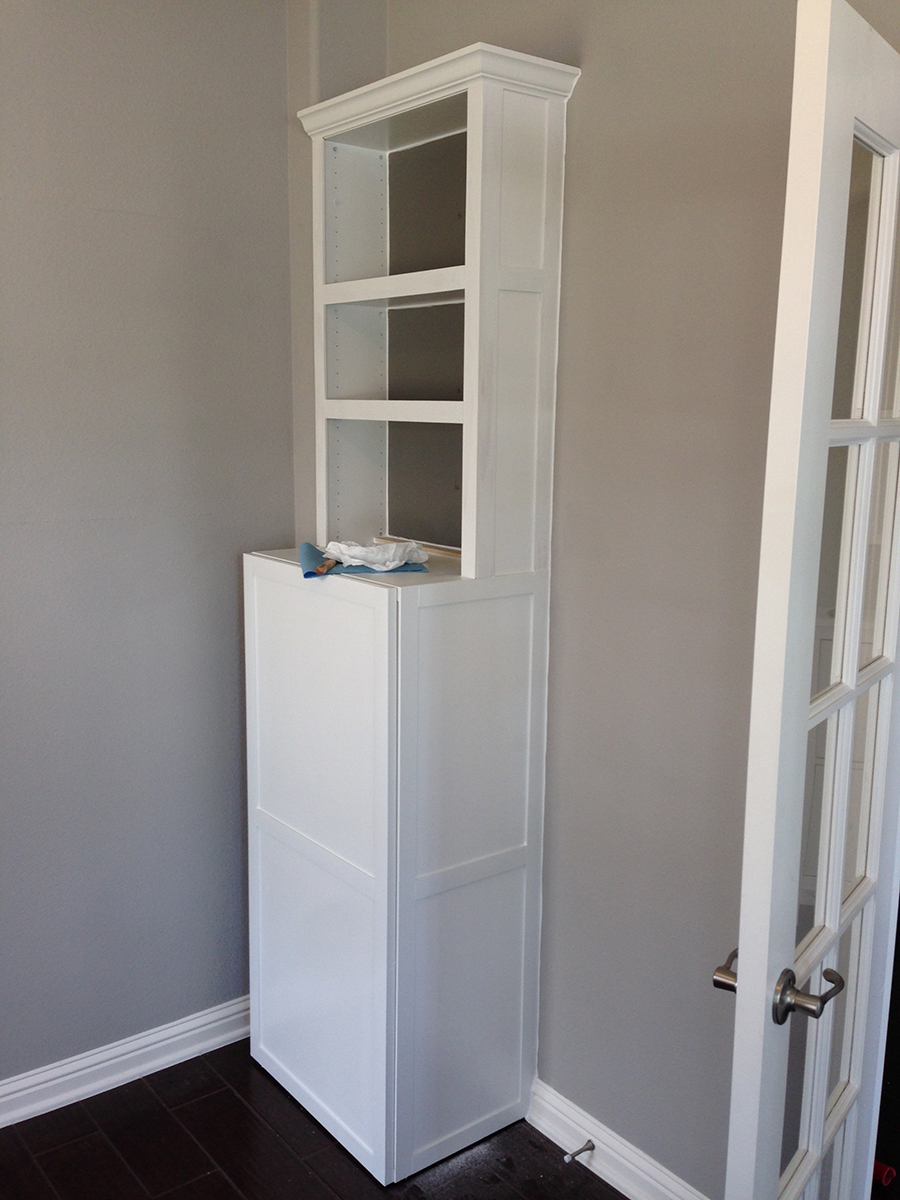
You can see there we also trimmed out the sides of the cabinets that showed in the room, and then we added the same type of trim treatment to the tops, so make them a little beefier – for the shelves I put two shelves on top of each other too, so the front thick trim wouldn’t look kinda funny. We put the top trim on with wood glue and finishing nails, and then caulk and paint there too! We also added crown molding to the tops as well, just to give it that really finished piece detailing, and I chose to paint the back of the open shelf a darker grey than my room color, so it popped more.
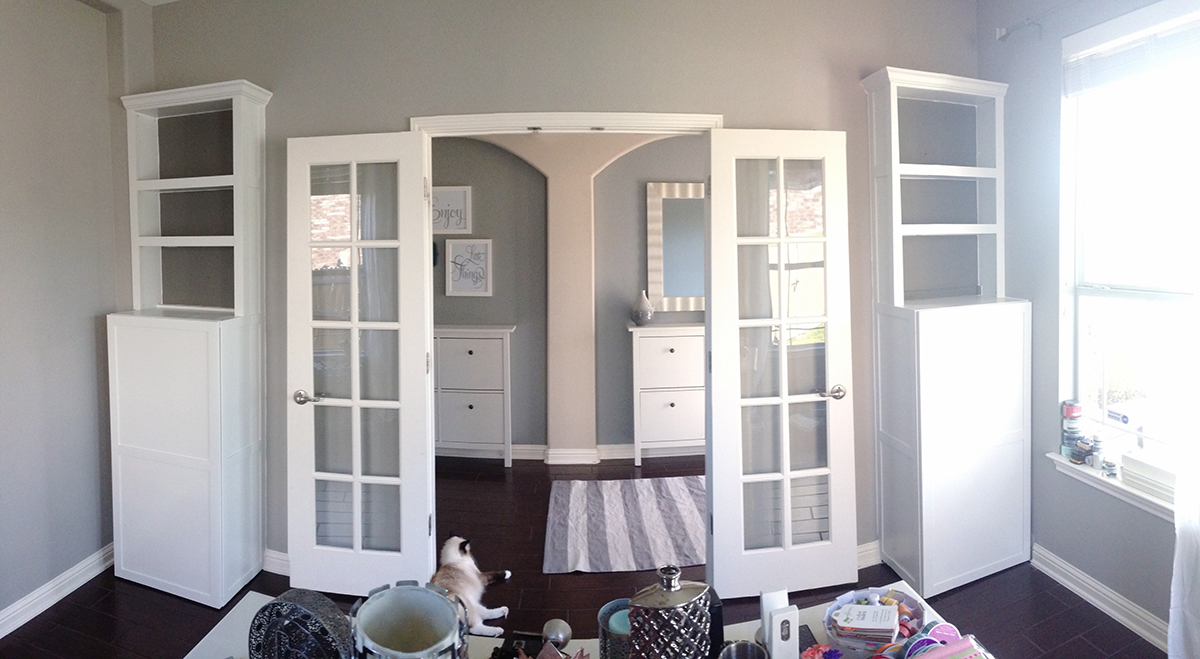
And here’s how they looked after all that install work, and then sat barely decorated for that year – ha! I did eventually add hardware too! Woot woot!
Now, onto the real reason for this post – it’s finally finished!

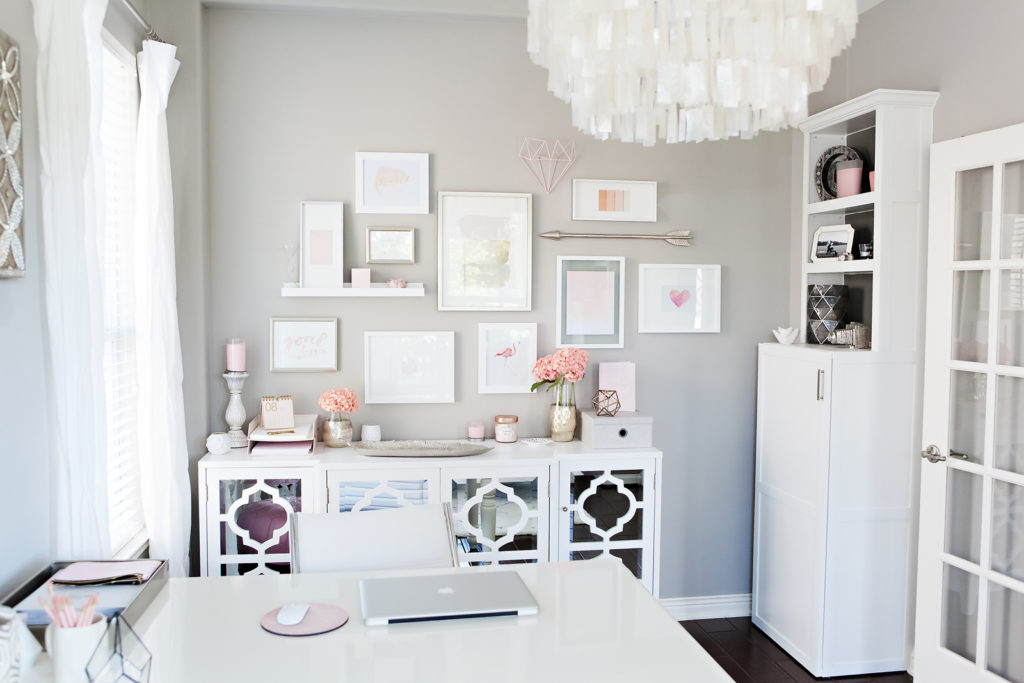
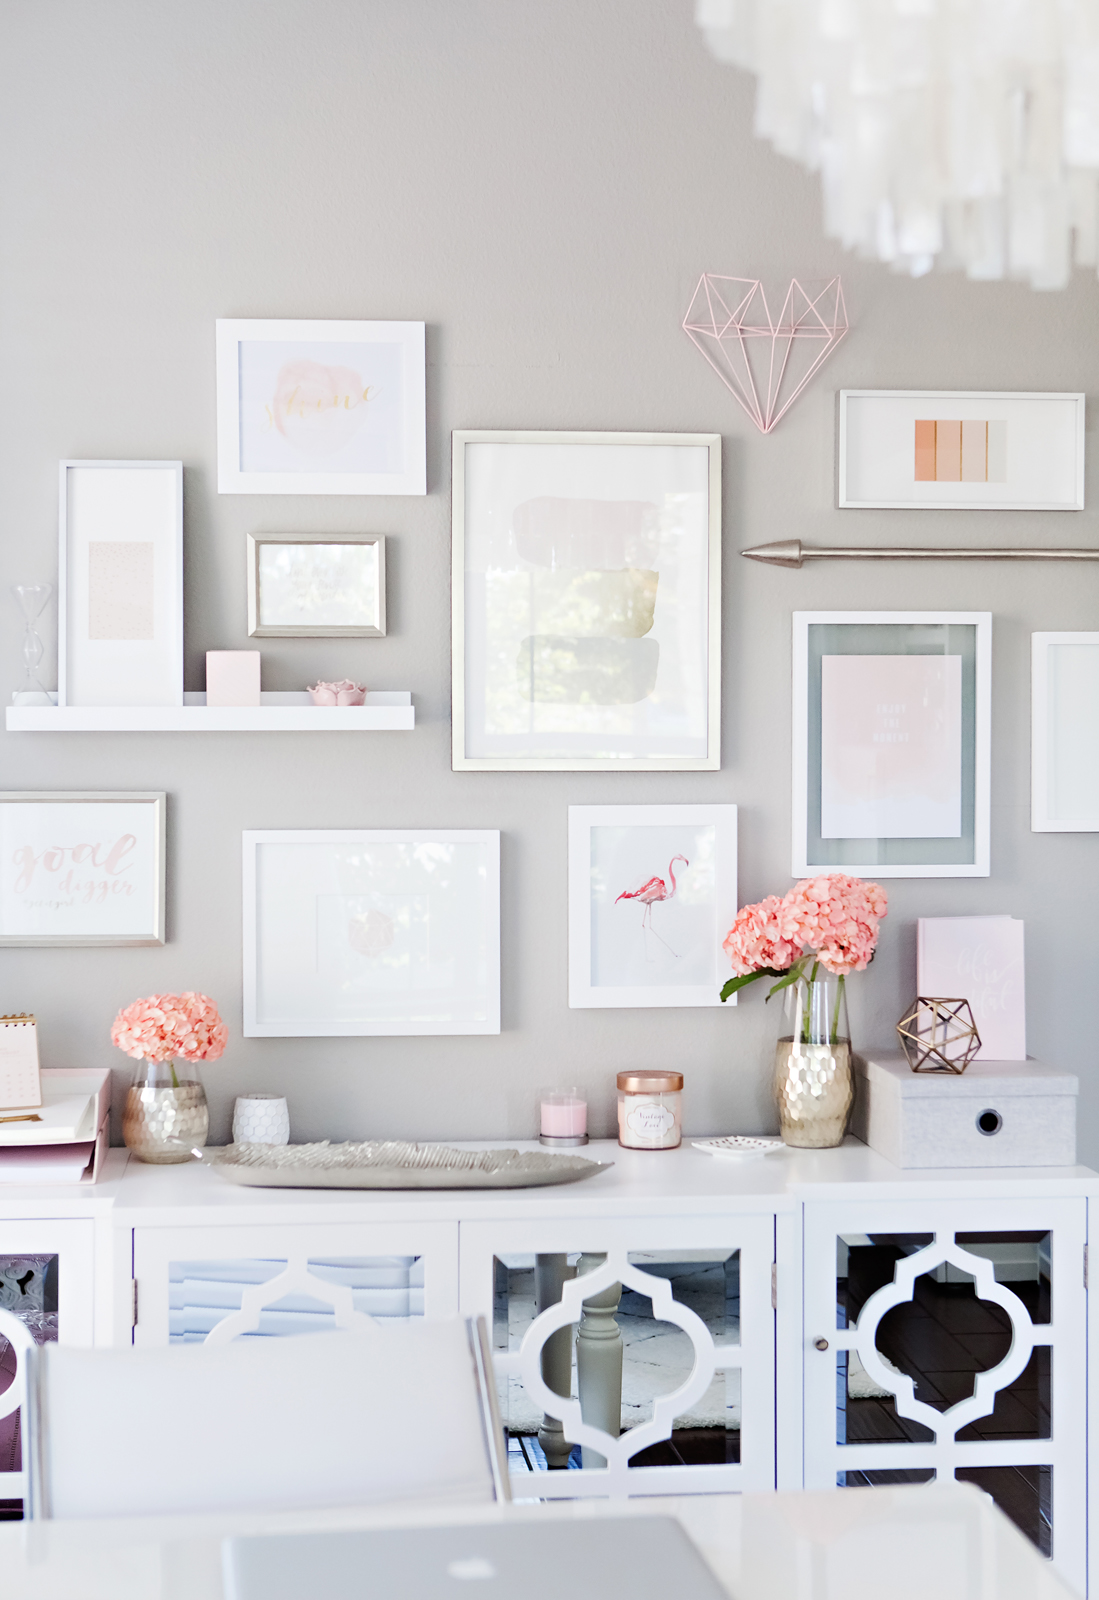
I got that console cabinet on the back wall from Home Decorators – which I think now is Home Depot – and sadly I cannot find it online anymore – I love it though, it holds so much and is so pretty! I would recommend it if I could – they even had it in Navy – all the heart eyes!
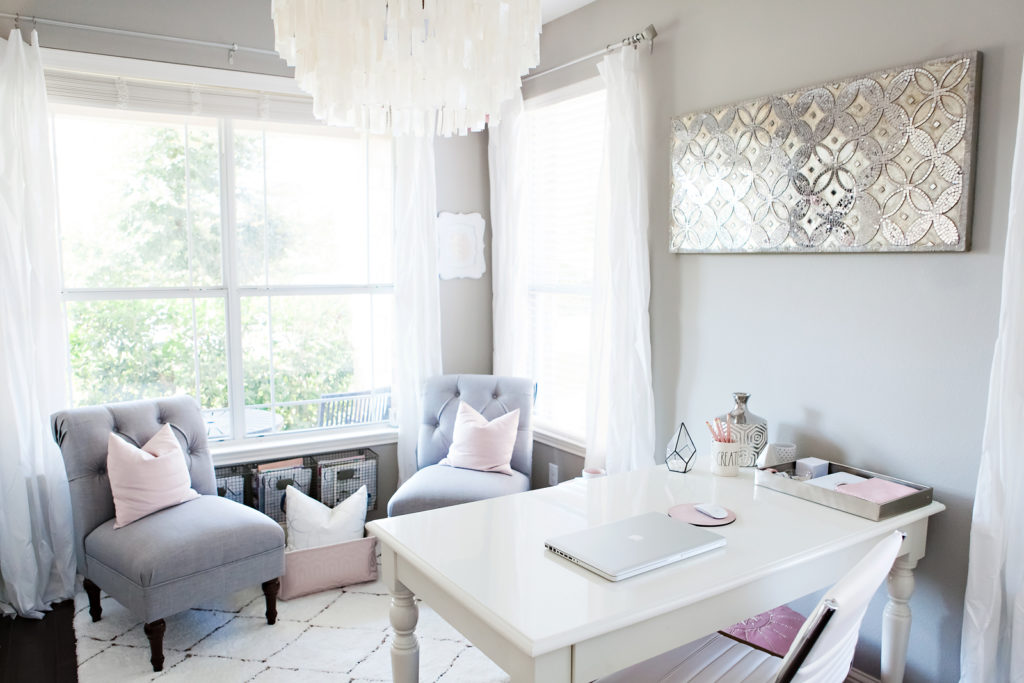
I have my desk centered to look out the front of our house, and then a little seating / magazine area in front – and of course all things girly, in a house with only boys I definitely needed my girly space!
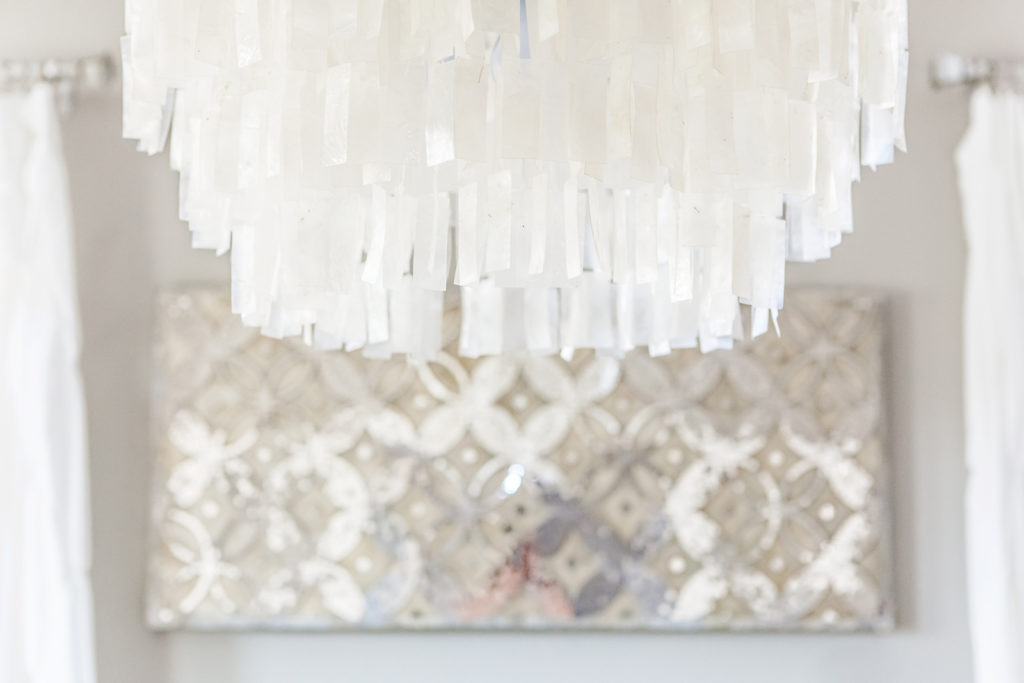
This is my light from West Elm – it’s the round version of the rectangle one we have in our dining room – I am obsessed with both! It’s a great price for what you get too! Show stopper! Plus it plays toward my love of all things beachy/water/ocean – I’m in love.

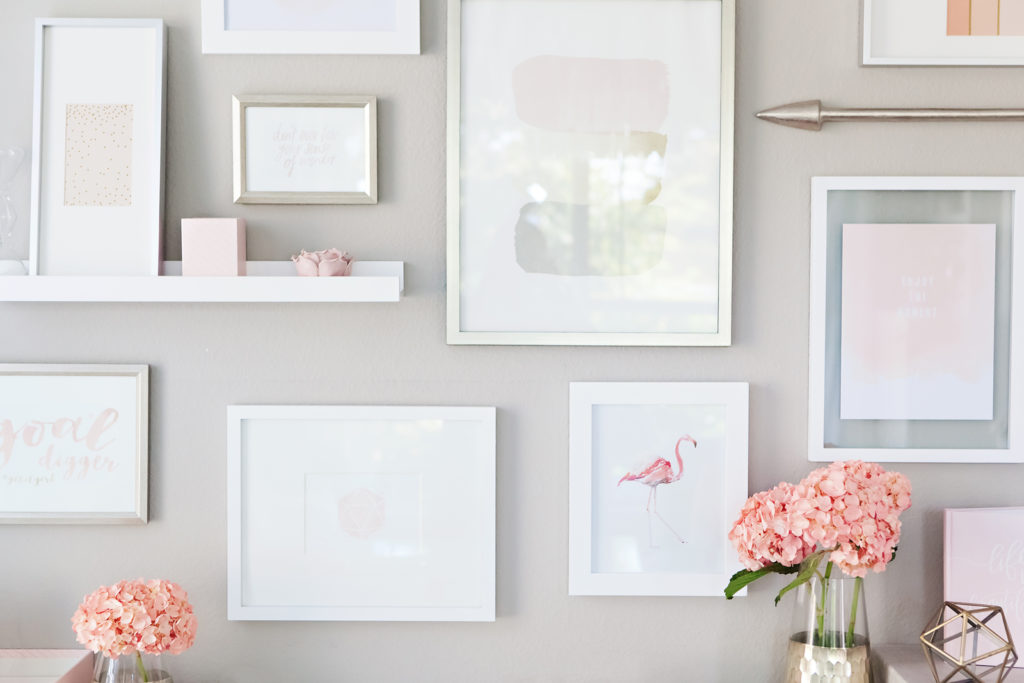
And then I made a gallery wall on the wall above my console – just a mix of pretty things I collected from Hobby Lobby and Home Goods mostly, and of course some flowers and paper storage.
In the end, I’m loving it, and it finally feels like home! So happy with all the updates, even though it took me a while, haha :)
save / share this post
TURN HEADS WITH DESIGN THAT RESONATES
Branding & Web Design
Establish or refresh your brand’s visual identity with entirely custom designs that grow your business.


Template Customization
Tailor your chosen Showit website template to serve your very own business style and goals.
Get the Details
Learn More


