

Learn How To Take Better Photos of Your Kids | Week 3
Learn to take better photos of your kids
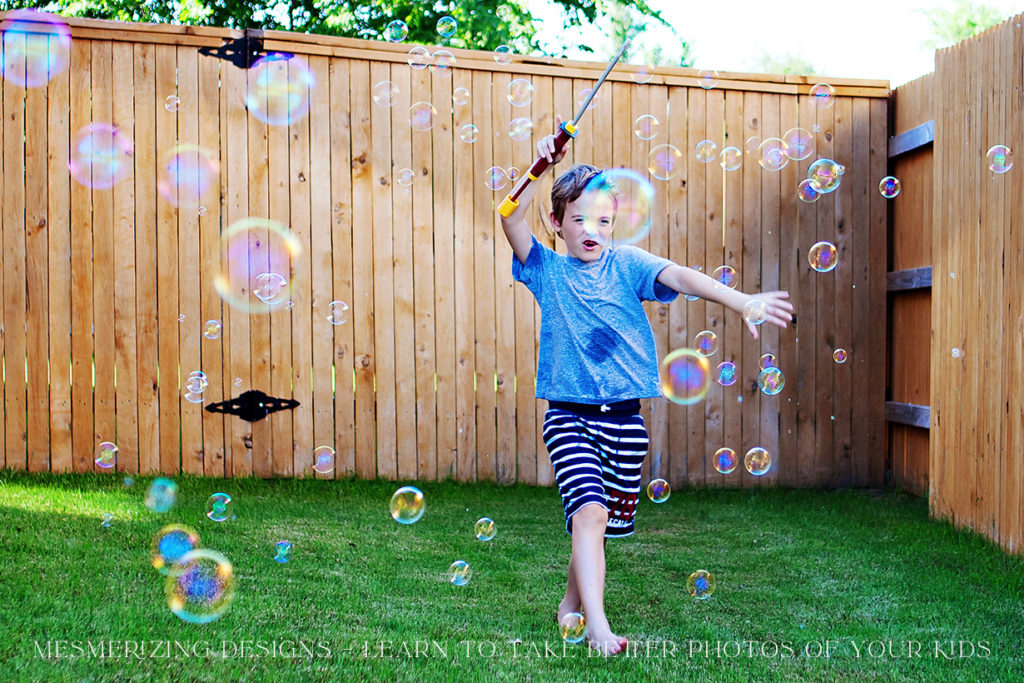
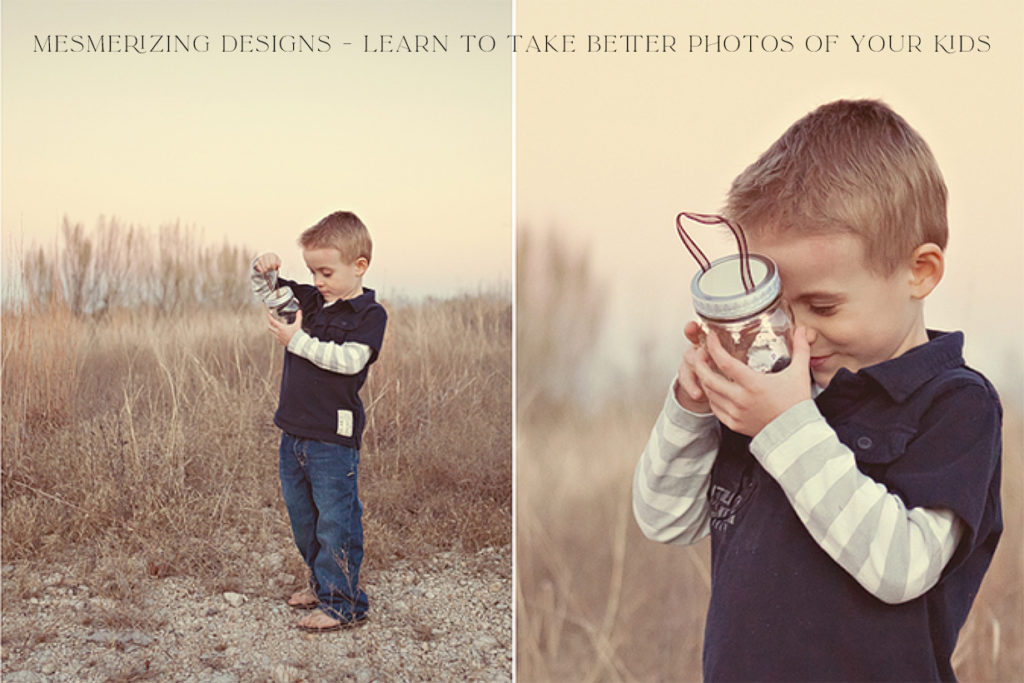
A complete guide to using your DSLR camera to get better photos of your children. Learn photography basics + more! Learn how to use Manual Mode on your DSLR
Hello! Glad to see you’re back, and hopefully still excited for this blog series :)
I’ve got week 3’s lesson all ready for you, hope you enjoy it! And don’t forget to practice, and then come by next week for lesson 4 – where it starts to get more creative and exciting – all about lighting!
Manual Mode
In M mode you choose every setting for your camera, so you are telling your camera exactly what you want it to do, yay right?! M mode is hard to get a hold of, but once you get it, I promise you will never look back! I talked about aperture + shutter speed modes, but both of them had downfalls, so now we are going to get rid of those downfalls, and that is awesome news!
What I recommend doing is – while you work into getting used to manual settings – try not to panic, try your best, and just keep at it. When you are out practicing, if you find times when it’s just not clicking in your mind, and you cannot seem to get the exposure correct, just put your camera into whatever mode you feel most comfortable with, and see what you camera does with the settings. Also, while learning manual, make sure your lcd screen displays the photo info (shutter speed + f/stop) on each photo preview. This will help you more than you know, just to see what your camera does, because once you learn why your camera does what it does, you will be able to make it do what you want it to do! Ok, so that makes sense right? If you get stuck, just put your camera in any mode you want, and see what your camera does, then place it back into manual mode and copy that setting, then make adjustments where you see fit. Wanted it brighter? Increase your aperture size. Wanted to freeze time better? Make your shutter speed faster. etc… So, let’s say you know you want your aperture to be f/2.8 because you want a blurry background, but you have no idea where to even start with your shutter speed – throw the camera into Aperture Priority mode – set the aperture and see what your camera does with the speed when taking a photo. If it takes the photo at f/2.8 and 1/500th of a second, but it looks too dark, then put your camera back into M mode, and set it to f/2.8 and 1/250 – see how that looks. And just work your way out of the stuck situation like that. The point is to watch and see what your camera is doing at all times and learn how to adjust it so you can get what you want.
When I shoot I know my shutter speed cannot drop below 1/200, because that is the speed where I pick up hand shake, but my gear is heavy, so remember I asked you to find your shutter speed number, do you know what it is now? I am guessing around 1/125. So, when I set my camera in M mode indoors I set it to 1/200 first, then I set my aperture to f/2.8 because that is as wide open as my favorite everyday lens goes, and I know I need as much light as I can get inside, and I love a shallow depth of field. So, now I am where I want my settings, but what if my photo is still dark? This is where I go to my third setting – ISO. And here is why it’s my favorite setting as well – it allows me to use the camera settings I want! So, I up my ISO to say around 400/800 or so, and I am good to go! I am setting the camera to everything I want :)
- The great thing about most cameras is you can adjust your ISO with Aperture + Shutter Speed modes as well, so make sure you have learned how to do that on your specific camera, and know what ISO noise level you are comfortable with.
- Make sure you set your ISO with every photo, do not leave your ISO on auto, you need to learn how it effects every photo, it is the easiest setting to learn and adjust.
Now, what if I add another person to my photo, behind my first subject? I want them to be in focus as well, so I need more depth of field, right? I need to adjust that with my camera by closing down my aperture, so say I go to f/5.6. But, I liked the way my photo looked with the settings from that first photo, and the light has not changed in the room, so I need to adjust either my shutter speed or ISO to compensate closing down my lens, because my aperture is now letting in less light. Since I am already set to 1/200, the lowest I am comfortable with for camera shake, I don’t want to leave my shutter open longer to compensate, so that leaves ISO. So, I do that – raise that ISO to make that sensor more sensitive to the little amount of light it’s getting. Check and adjust from there.
Now, what if we move outside with 2 subjects? Outside is super bright, even in the shade, so the first thing I would want to do is lower my ISO, because I know it is at 800, and I never want image noise if I don’t need it. So, I bring my ISO down to 100 (or even 50 on some cameras!) and then I adjust my shutter speed. I want the shutter to be open for a shorter amount of time than inside, because it is so bright out, if I leave my shutter open that long my photo will be overexposed. I adjust my shutter speed to about 1/500, and leave my aperture at f/5.6 because I still have two people, and need that depth of field. That might be about right, I’d take the photo and check, and adjust from there.
From there, what if we took the second person out again? And wanted a lower depth of field so only the one subject is in sharp focus and the background goes blurry? First I would adjust the aperture, down to wide open for my lens, for my 24-70mm that would be f/2.8 (my favorite everyday lens!) But, remember I liked the exposure of the photo before with the settings of f/5.6 and 1/500th, so when I open up my aperture I need to keep it open for less time now to get the same exposure, makes sense right? So, I adjust my shutter speed to say 1/200.
I hope that all makes sense – feel free to do that while reading it too! Seeing it helps a lot! I have gotten to the point where I can see camera settings with various lighting situations, I can finally walk into a room and think to myself 1/200 at f/2.8 ISO 800, but trust me, that comes with TIME, and lot’s of it! Remember when I mentioned back in High School I thought those people were crazy?! haha I might sound a little crazy to you right now even, lol Until you have the practice under your belt to get to that point don’t stress about it, just play with your settings, watch what your camera does, try and learn WHY, and try to remember what your settings were under common lighting conditions, with time, you will get there too! Just practice everything you learn, put your heart into it, and you can do it!
Speaking of practice – great spot!! Play with your camera in Manual Mode. I suggest you play with your camera in M mode every chance you get! Say your little one is playing on their bike, put your camera in whatever mode you are comfortable with, and get the shot you want – but then take another 5-10 minutes with your camera in M mode, and get some more creative shots. Play with depth of field, play with your shutter speed, ISO, mess around with everything, and don’t take it off M mode until you need to again. Happy capturing!
Next week is lighting! That’s a pretty full post, so if you have time go through it all from week 1 again, because it’s great to be really on top of it all before moving onto lighting :) But, that is where it starts to actually get fun – and your creative side will start to take off, so yay to that!
xo, jen
save / share this post
TURN HEADS WITH DESIGN THAT RESONATES
Branding & Web Design
Establish or refresh your brand’s visual identity with entirely custom designs that grow your business.


Template Customization
Tailor your chosen Showit website template to serve your very own business style and goals.
Get the Details
Learn More


