
Master Bedroom Accent Wall | DIY Paneled Wall
This idea was in my head for so long, I’m so excited to actually be done with it! It started with wanting to just trim out the wall behind our bed, but here in Texas we have those textured walls (yuck, haha) so I started looking for options to put behind the trim, for a flat smooth surface between the trim, and then that’s when the idea grew! I’ve been seeing these 3D wall panels all over HGTV lately, and I absolutely love them, so after a bunch of research I finally found a few retailers! But ouch, they were really expensive! gahhh : ( Of course right?!! So I decided to put them in between in the trim on our wall, did the math, and the price actually wasn’t that bad – especially for such a huge impact, so we started planning it out!
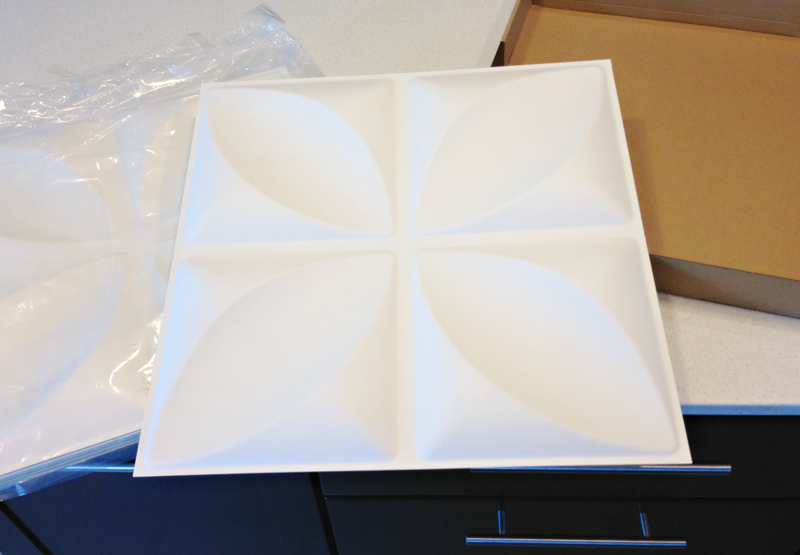
I got stuck at the beginning, because the inside of the squares had to be 18″x18″ – instead of just buying 4″ trim boards and then doing the math for the wall to make the squares even I had to work around the squares being a certain size. Luckily, for our wall it wasn’t that bad though, just a few minutes playing around, and it came out to 5″ boards on the top and bottom, 3″ boards on the outer left & right, and 4″ boards in the middle, and 40 3D panels to make a perfect grid on our wall. I was a little hesitant about how it would look that way, but with such a huge wall, I figured that 1″ difference on the outer edges really wouldn’t be that noticeable : ) So, we went ahead like that.
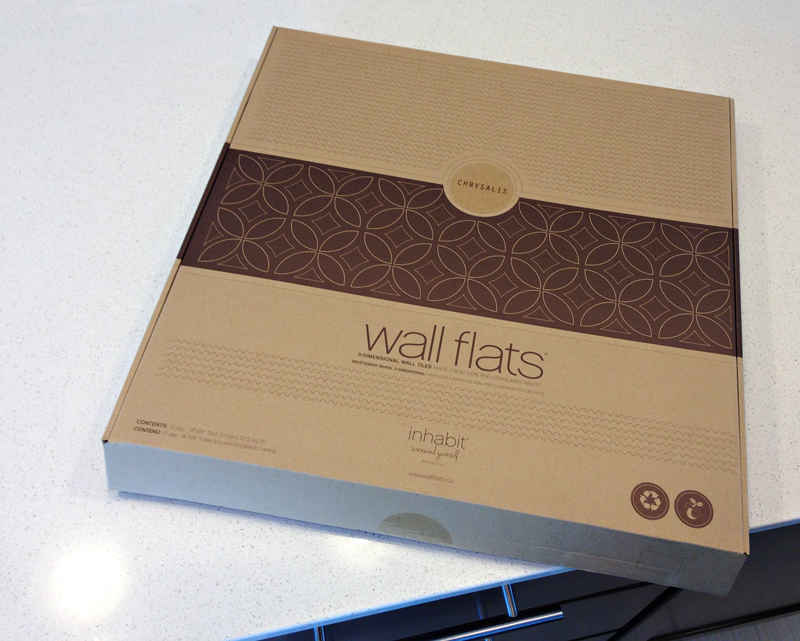
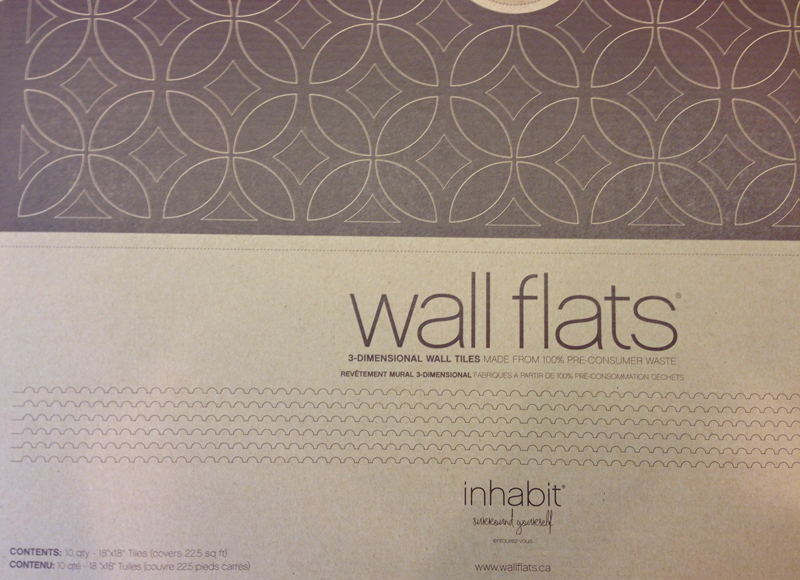
I ordered the 3D panels – 4 boxes of 10 – perfect, no waste! I was so excited when they arrived. I was a little surprised at how they felt and how thin they were – they literally feel like a heavy duty paper plate – but after handling them, painting them, and putting them up, I’m totally happy with them! They weren’t flimsy at all : )
Once those arrived we headed to Lowes for the trim – we ended up getting a 4’x8′ sheet of MDF 1/4″ thick and had them cut it into the correct amount of strips – it was super cheap that way. It was under $20 per sheet, we only needed 2, and they made 22 cuts for us for free – score! We made the rest of the cuts at home, happily working with their perfectly straight cut strips! Then we just started putting it up! Since it was so thin, we only needed a few small finishing nails in each board, and just used liquid nail to adhere it, and of course, by we, I mean my awesome hubbster!
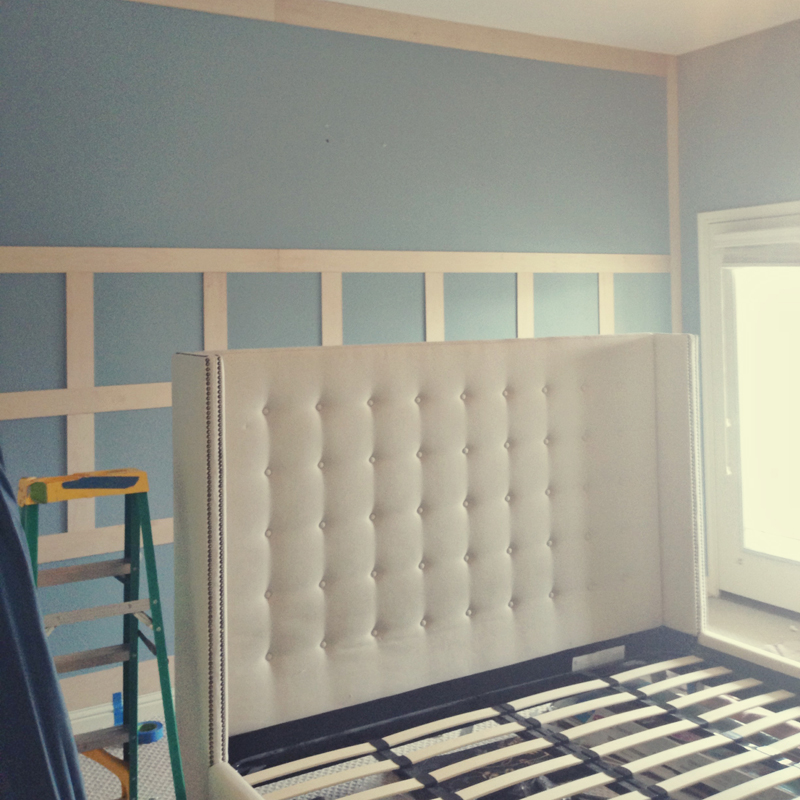
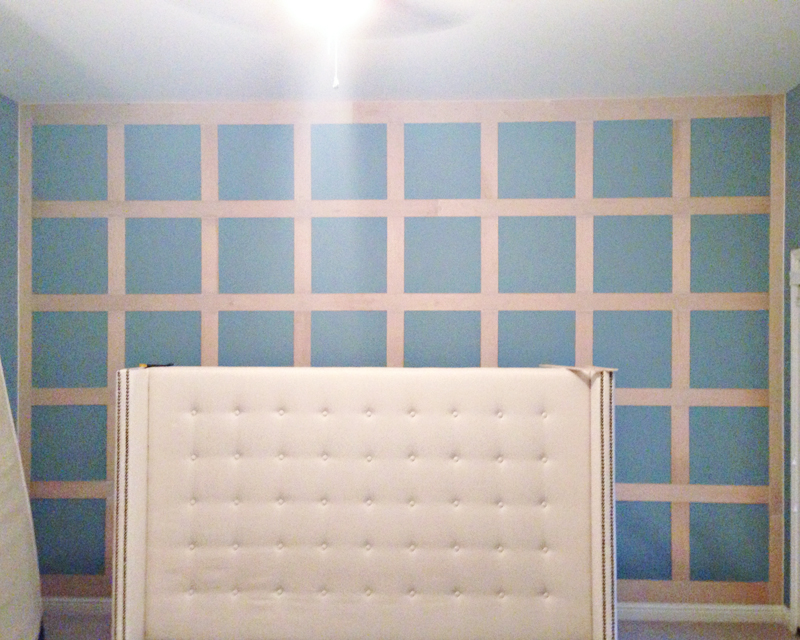
You can tell that took some time! haha That second photo was taken at night : )
After that, we filled the few nail holes, any gaps between the boards, let that dry, then sanded it all down. And the next day we primed and painted!
Now, here’s where the project went wrong ….
The panels were white, and the closest white we could get for the trim just wasn’t lookin the same – so we were stuck with what to do next. We did not own a paint sprayer, and we didn’t really wanna go buy one for one project, so we started thinking, and somehow came to the crazy conclusion that we could just paint the panels a different color – our bad.
We chose to spray paint them, and after we landed on the color choice (may most favorite home color – a steel blue) hubbs set up a paint factory in the garage and went to work! Spray painting 40 panels took all day, and we let them set up over night. The third day we started putting them in place. It got a little tricky here, because of course not every square was exactly 18×18, and we ended up needing a heavy duty paper cutter to shave the panels down. It took some practice runs – there are a few a tiny bit crooked behind my bed, haha, but we got it down, and then went to work placing each tile. Inhabit said contact cement would work great, but there was so little of the 3d tiles that actually touch the wall that it took a lot of time holding each tile in place to set up – we ended up using tacs to help out – we just wedged the tac between the trim and panel without creating a tac hole, and that worked well.
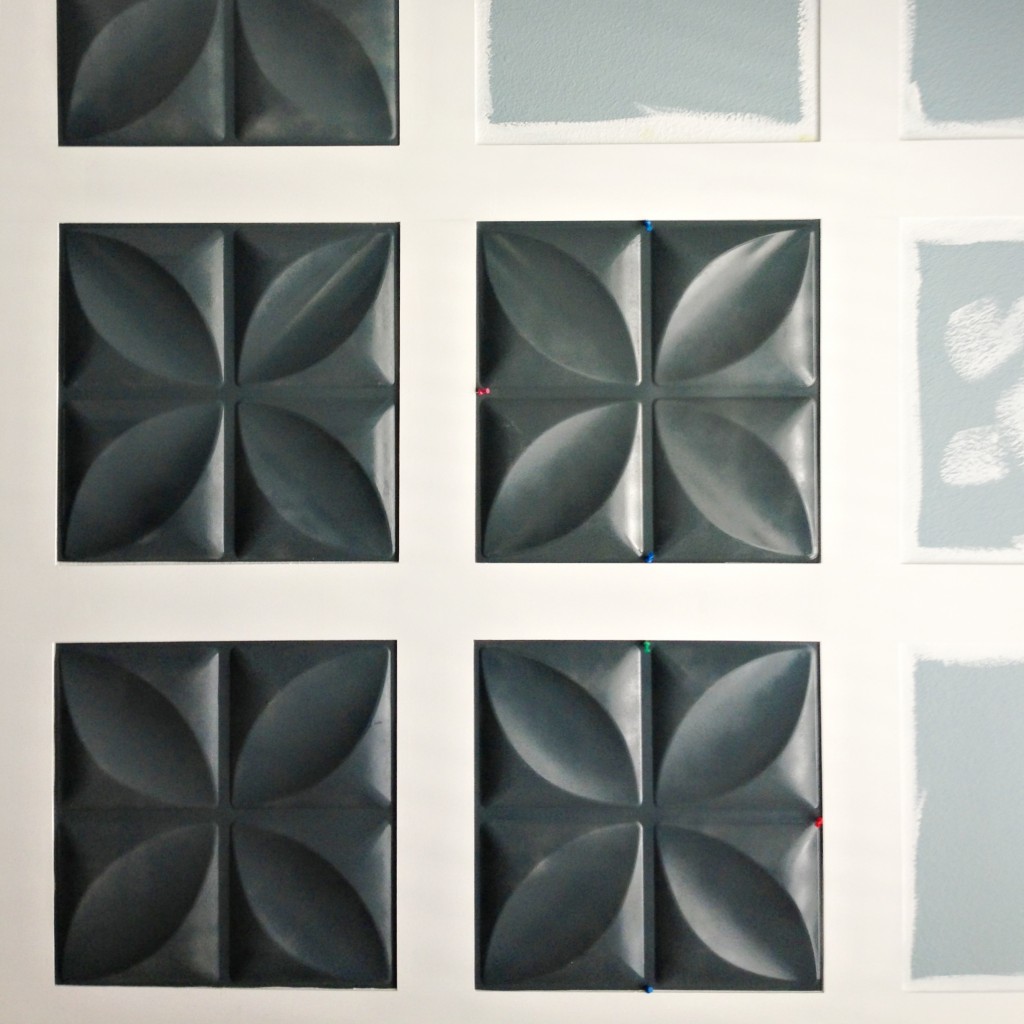
Again, just one last push of tedious work, and we were done! (Or so we thought) We let the tacs sit for another day, then removed them all, and everything stayed put in place!
This is what we backed up and looked at – see how it went so wrong now? Haha
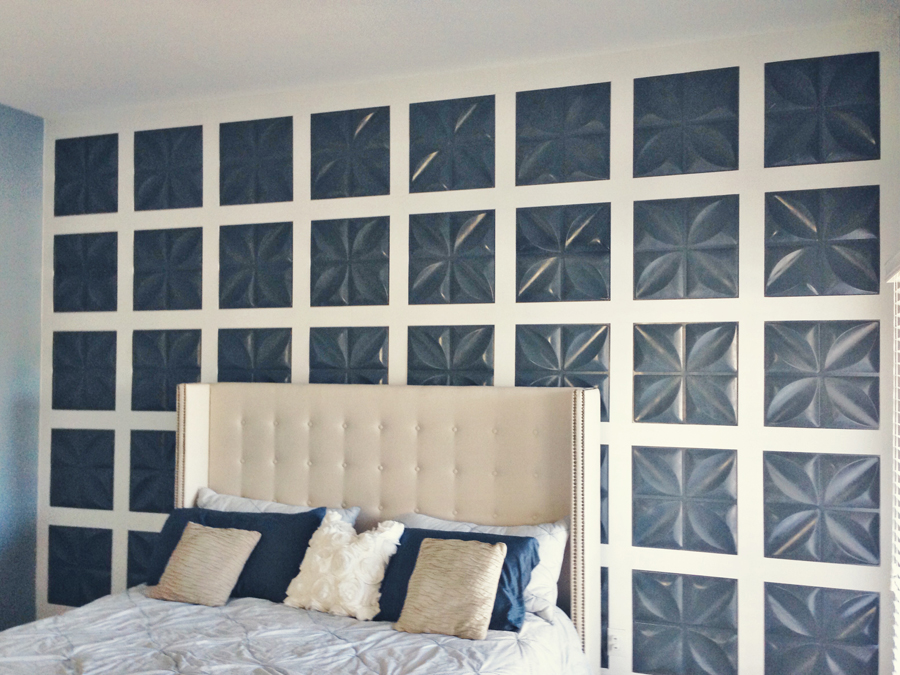
I didn’t absolutely hate it, but after so much work, I definitely didn’t love it, or even like it really, but it took me a few weeks to come to that conclusion. We lived with it for a little while, and then finally I told hubbs I needed it to change. We had put so much work into it, and I just wanted the whole wall to be white, so the only accent was just texture, not such a bold pattern.
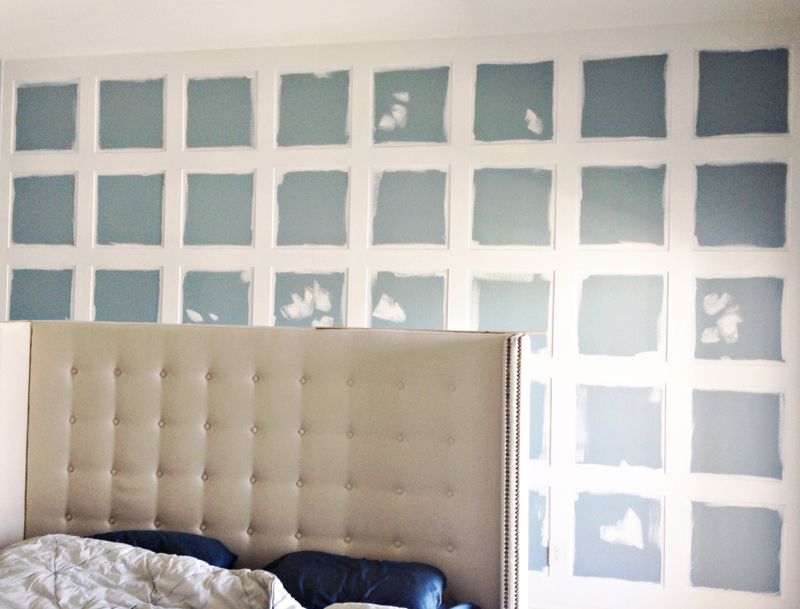
Off to Lowes we went, yet again. This time, on the hunt for a paint sprayer and white paint! I was honestly nervous, I was worried changing the color only wouldn’t be enough – thankfully I now know I was wrong to be nervous, and all white would be glorious! haha We also needed lots of plastic tarp to section off an area in our bedroom, and more tape – all the tape. At home we ended up with what we call our DIY Dexter tent, kinda creepy. And away hubbs went, painting the world white!
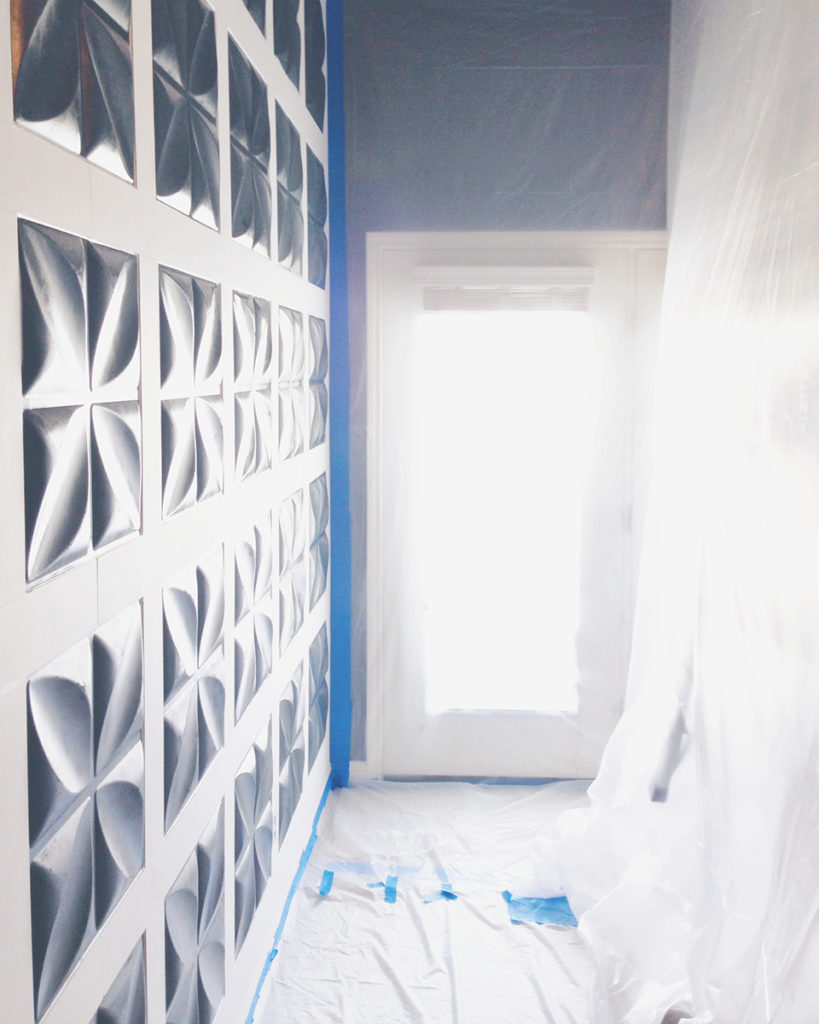
When all the paint was dry, and aired out a little – via that door you see there, thankfully, we pulled down the Dexter tent, and all my dreams came true!
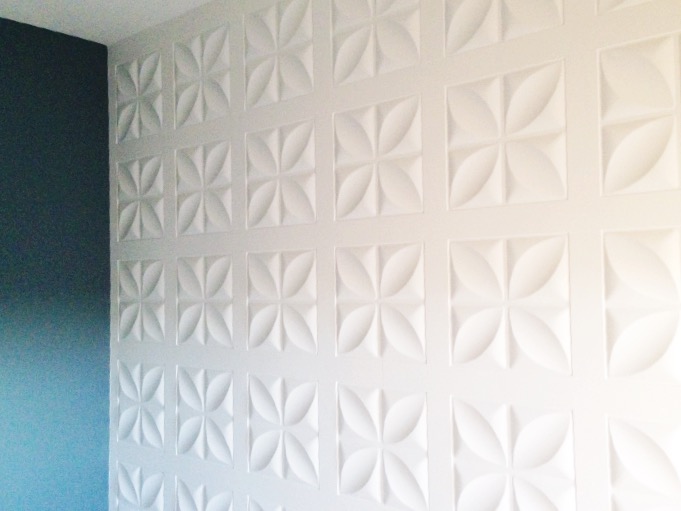
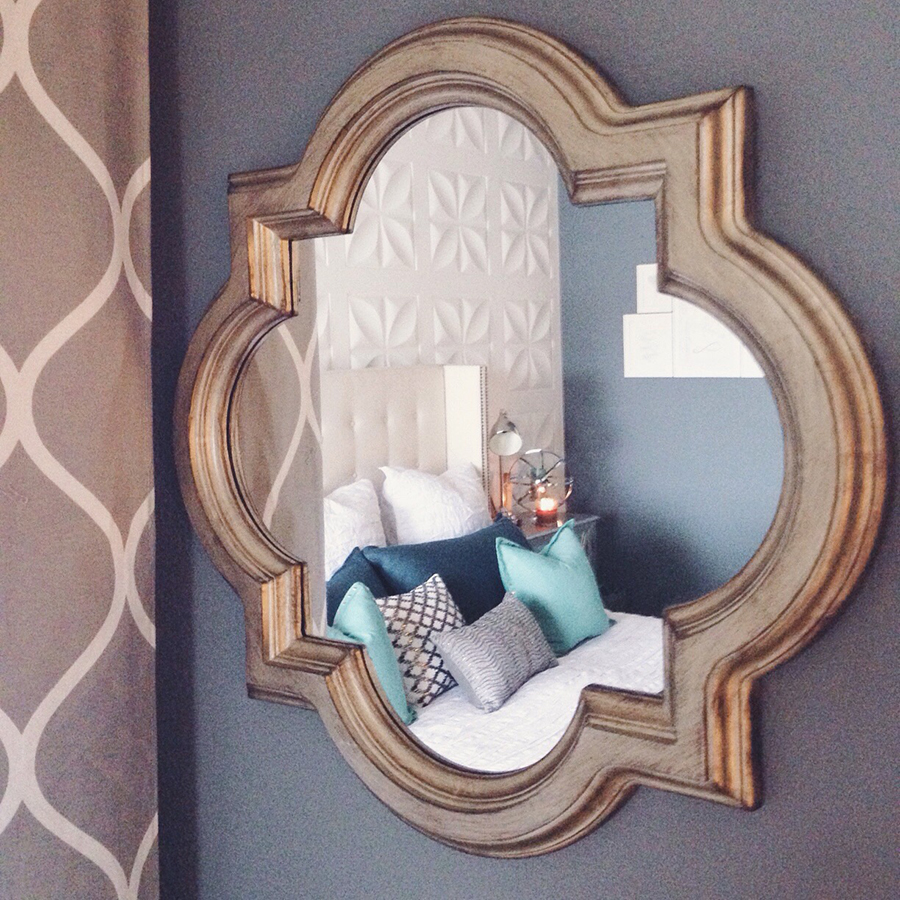
It looked so SO good – I was in love! For the first time in this entire monthly process I was so thrilled! All our hard work was actually paying off, and my accent wall was the reality of what I had in my head all along. For a hot minute there I wasn’t sure that was ever going to happen! haha It’s such a statement wall, we both literally love it more & more every time we see it! It makes the room feel huge too, which is cool, because we have 10′ ceilings in there, it really highlights that.
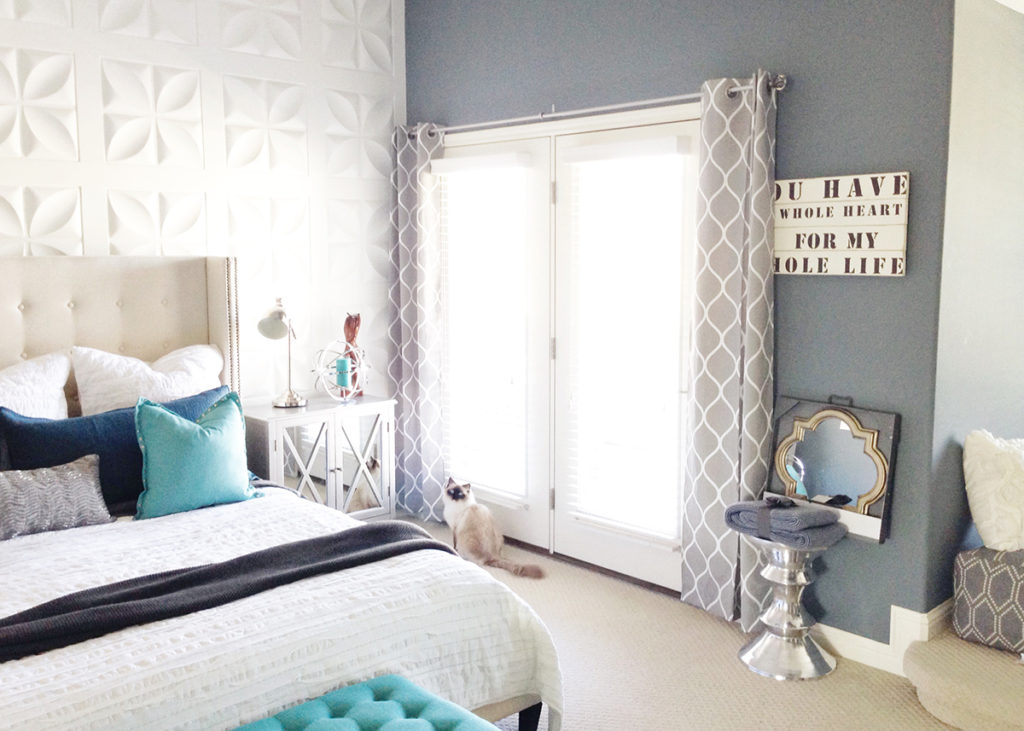
Here’s a few more cell snaps of it, the entire room is not quite done, but you get the idea :)
save / share this post
TURN HEADS WITH DESIGN THAT RESONATES
Branding & Web Design
Establish or refresh your brand’s visual identity with entirely custom designs that grow your business.


Template Customization
Tailor your chosen Showit website template to serve your very own business style and goals.
Get the Details
Learn More


